For equipment storage, an open attached lean-to is your best bet. For usable covered outdoor living space, a porch lean-to wins. For weatherproof storage of tools or feed, go enclosed. Attach to an existing building when you can share structure and access; build freestanding when footing or access conflicts get in the way. Whatever you choose, plan your load path and runoff control before you pour a single footing.
TL;DR:
- Equipment bays need 12 to 16 feet of depth, while porches typically need 8 to 12 feet; RV shelters require taller clearance and reinforced concrete.
- Use a 3:12 to 6:12 pitch where snow loads matter, install flashing beneath siding, and direct runoff away from footings with gutters or grading.
- Get engineering review when posts exceed 12 feet on center, prescriptive limits are exceeded, snow or wind loads rise, or attachments alter the host load path.
- Grade and drain before pouring concrete, allow about a week for it to cure, and wait for foundation inspection approval before ordering materials.
Table of Contents
- 1. Common Lean-To Styles and the Jobs They Fit Best
- 2. Materials and the Two Basic Ways to Build a Lean-To
- 3. Roof Pitch, Flashing, and Where the Water Goes
- 4. Sizing Rules and When You Need an Engineer
- 5. Your Pre-Build Checklist Before You Order Materials
- 6. Feature Ideas and Real-World Lean-To Scenarios
- 7. What Professional Installers Watch For on Every Lean-To Job
- 8. A Lesson From the Field on Sequencing a Lean-To Build
- How We Help You Plan and Build Your Lean-To
- FAQ
- Sources
1. Common Lean-To Styles and the Jobs They Fit Best
Each lean-to style solves a different problem, and matching the design to the job saves you money and headaches later.
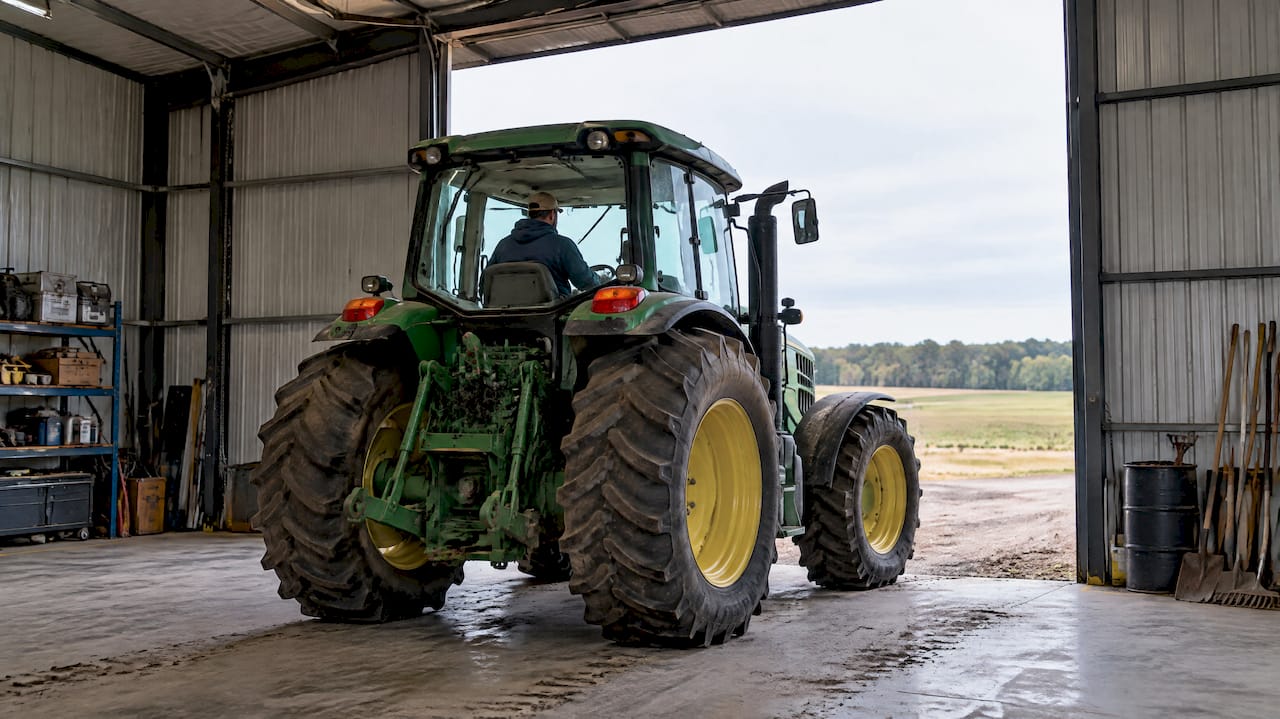
- Open equipment lean-to: best for tractors, mowers, and implements, typically built 12 to 16 feet deep with enough clearance for raised implements or loader buckets.
- Enclosed storage lean-to: adds framed walls and a door for lockable storage or a small workshop; partition the space with a stud wall and add a gable vent or soffit vents to control moisture.
- Porch lean-to: built for outdoor living or a covered grill area, usually 8 to 12 feet deep with a railing, a finished ceiling, and sometimes a stone or paver floor.
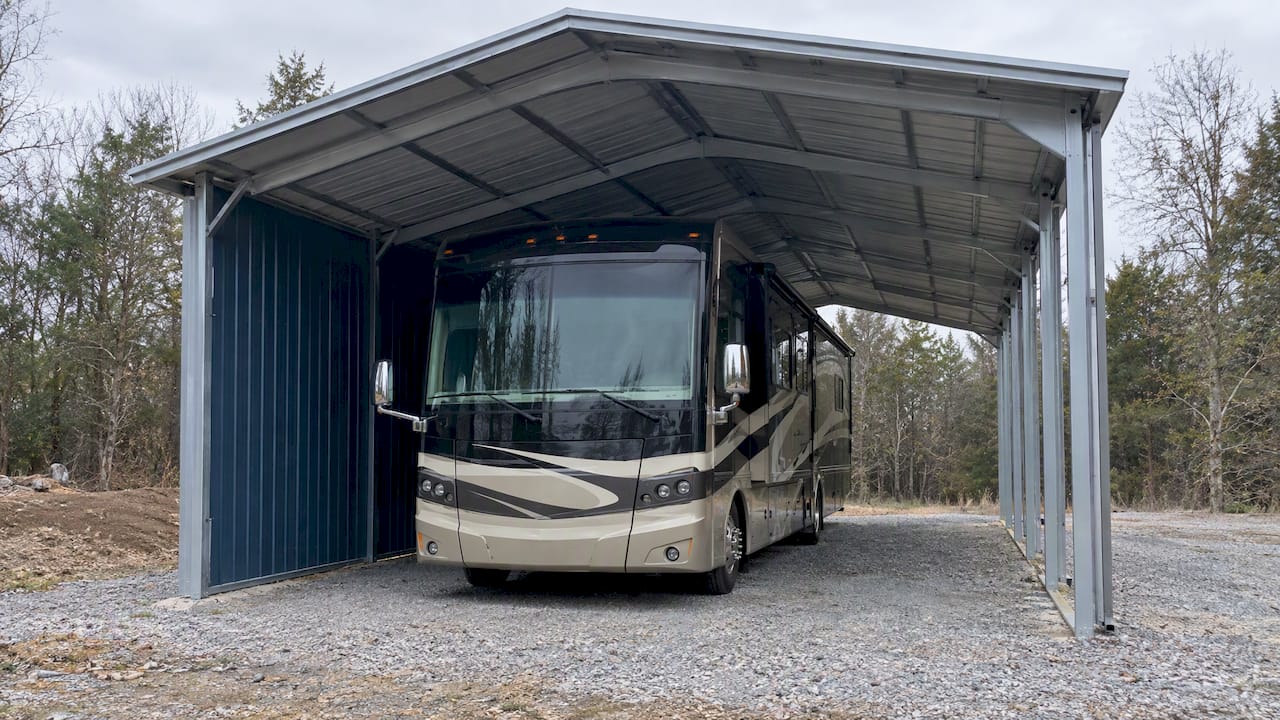
- RV or vehicle lean-to: needs a wider bay and a reinforced concrete apron so tires and jacks do not sink, plus a taller clearance height for RV roof vents and ladders.
- Run-in or stall lean-to: used for livestock shelter, oriented with its back to prevailing winds and often split into stalls on 10 to 12 foot centers.
- Garden or tool lean-to: a smaller, budget-friendly add-on to an existing garage, framed with standard lumber and a simple metal or shingle roof.
A small garden lean-to might run just 6 feet deep and 10 feet wide, enough for a mower and hand tools, while an equipment lean-to for a compact tractor often needs closer to 14 feet of depth to clear the bucket and rear attachments.
2. Materials and the Two Basic Ways to Build a Lean-To
Every lean-to comes down to two structural choices: how it attaches, and what it is framed with.
- Post-frame or pole attachment: the lean-to shares posts or ties directly into the existing building’s wall framing, so loads transfer partly into the host structure and partly into new footings.
- Freestanding construction: the lean-to stands on its own posts and footings, independent of the existing building, which simplifies the load path but adds a full set of new posts.
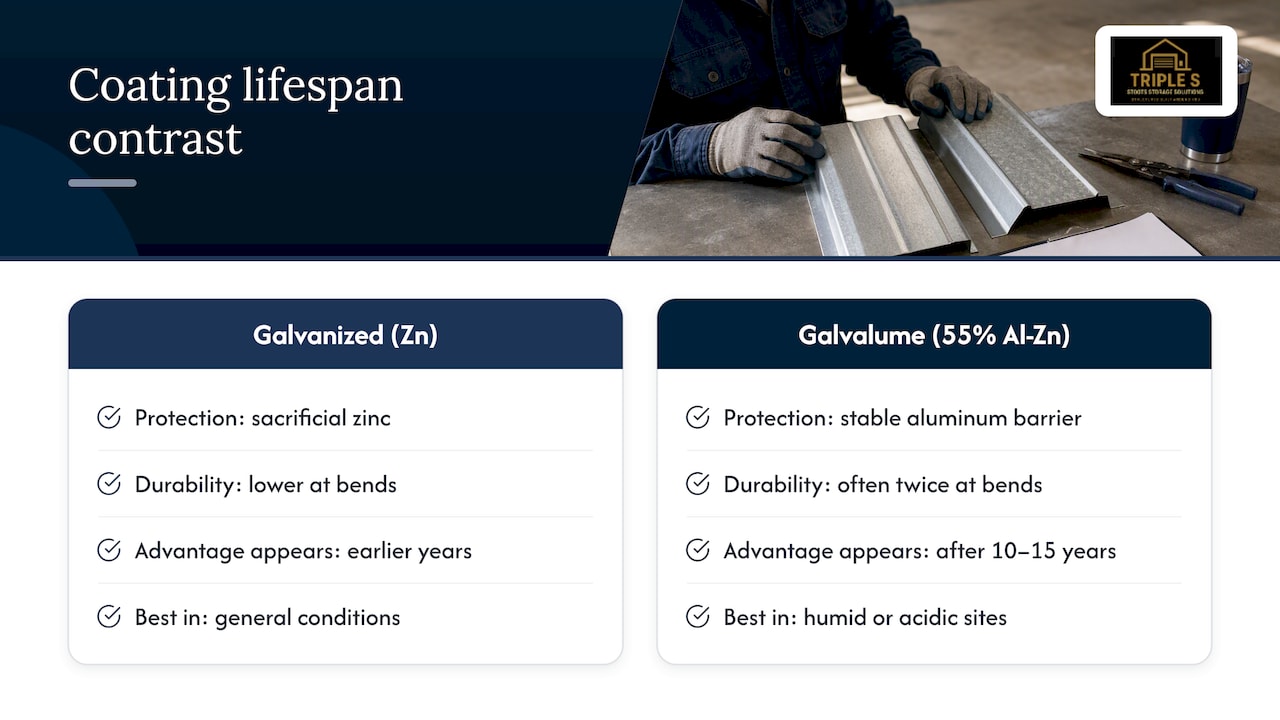
- Metal panels and steel framing: hold up well against weather with low upkeep, though matching an existing building’s panel profile and color takes planning.
- Dimensional lumber framing: costs less upfront and is easier for a DIY build, but needs more frequent painting or sealing and is more vulnerable to rot near grade.
- Typical member sizes: post-frame lean-to guides commonly reference 2×12 rafters and purlins no smaller than 2×8 Douglas fir at 16 inches on center, with post-frame lean-to handouts recommending connections like 5/8 inch steel bolts where the lean-to ties into existing posts.
- Aesthetics: wood framing with board-and-batten siding often suits a porch lean-to meant to look like part of the house, while metal panels make more sense on a working equipment or livestock shelter where durability matters more than matching trim.
3. Roof Pitch, Flashing, and Where the Water Goes
Roof pitch is not just a style choice. A steeper pitch, often in the 3:12 to 6:12 range, sheds snow faster and reduces load buildup in heavy snow regions, while a simpler tool shed or garden lean-to can get by with a low slope close to 1:12 as long as drainage is planned.
Where the lean-to roof meets the existing wall, flashing details matter:
- Do install step flashing or a continuous counterflashing piece under the existing siding, never just caulk over the seam.
- Do slope the flashing to direct water onto the new roof, not behind it.
- Don’t rely on roofing cement alone as a long-term seal at the wall intersection.
- Don’t skip a drip edge at the lean-to’s low side, since runoff without one erodes soil and splashes the foundation.
Managing that runoff once it leaves the roof is just as important as the pitch itself. NRCS runoff-management guidance recommends gutters, downspouts, diverters, rain barrels, and graded gravel aprons as practical ways to keep roof water away from foundations and reduce erosion. A well-planned combination of gutters and grade work is one of the most reliable ways to prevent long-term foundation problems, according to that same NRCS guidance.
Pro Tip: Slope the grade away from post bases and footings on all sides before you ever hang a gutter, since drainage design works best when water never pools there in the first place.
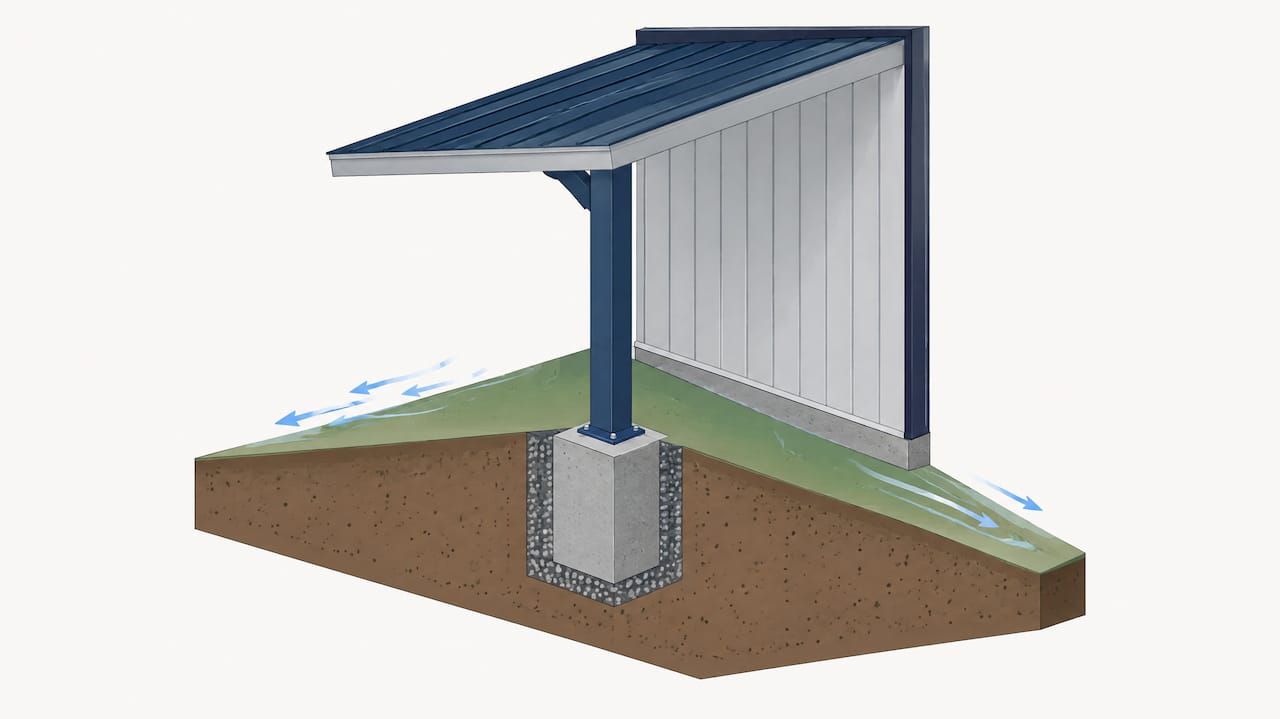
4. Sizing Rules and When You Need an Engineer
Most lean-to projects fit within prescriptive limits that let you skip a full engineering review, but a few conditions always push you into engineered territory.
- Post spacing: many post-frame handouts allow unengineered construction with posts spaced up to 12 feet on center, following patterns similar to those in the post-frame lean-to handout and county pole-building guidance.
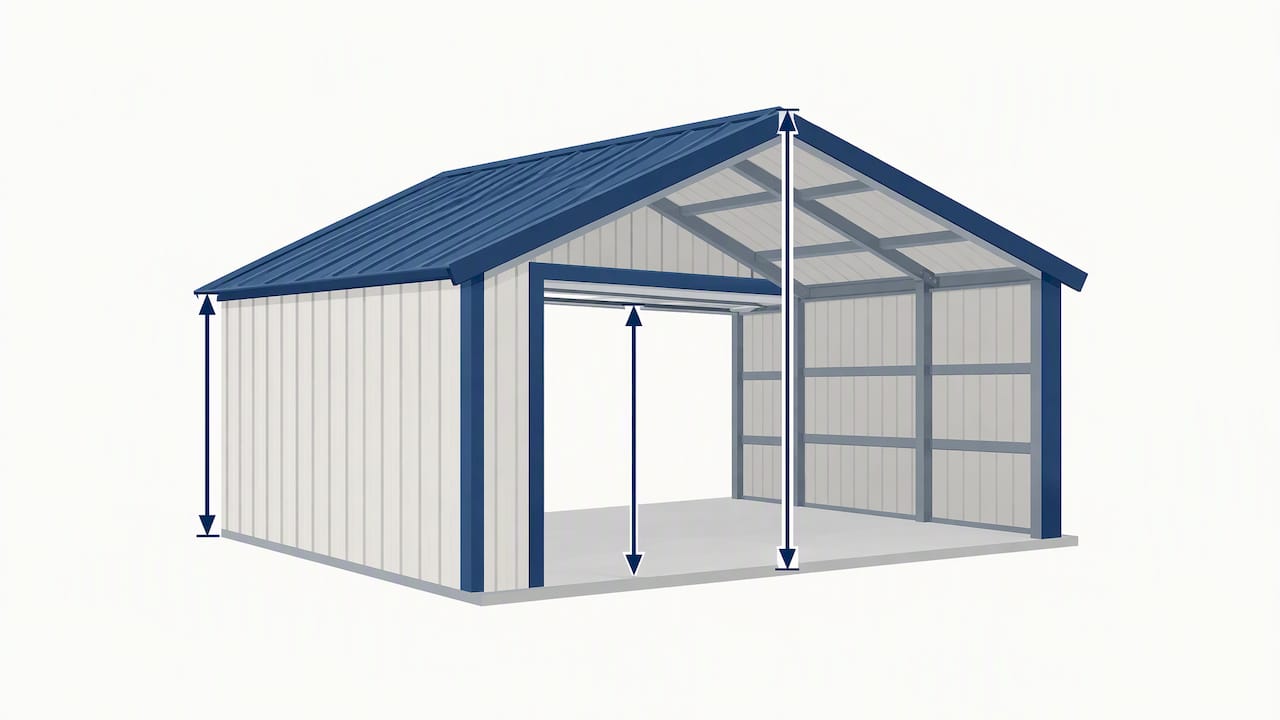
- Eave height and span limits: prescriptive guides cap maximum unengineered eave heights and roof spans, and exceeding either moves the project into engineered design.
- Snow and wind exposure: higher snow loads, exposed wind zones, or multi-story attachments typically require engineering review and stamped drawings rather than following a prescriptive handout.
- Changed load path: if attaching a lean-to shifts how loads move through the existing building’s posts or foundation, that connection needs engineering review, not just a builder’s estimate.
Before committing to an attached design, check whether the host structure can actually take the new load: confirm the existing posts have capacity to spare, inspect rafters for rot or sag, and verify the foundation depth matches local frost line requirements. County building-code guidance shows that many agricultural buildings fall under Group U classification, but permit requirements and engineering triggers still depend on the building’s use, size, and whether the public has access to it.
5. Your Pre-Build Checklist Before You Order Materials
Work through these steps in order so permitting and foundation work do not stall your installation date.
- Check permit rules first: confirm your local code’s occupancy classification and look for exceptions that may apply to small accessory structures.
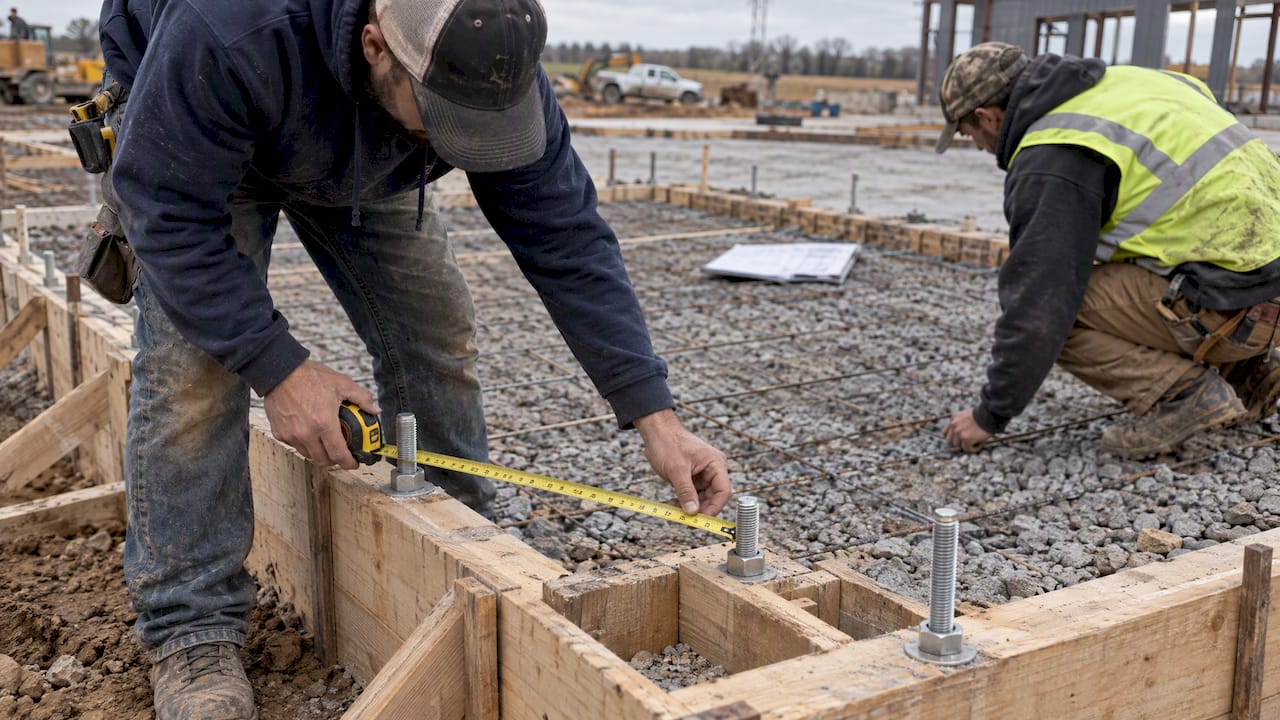
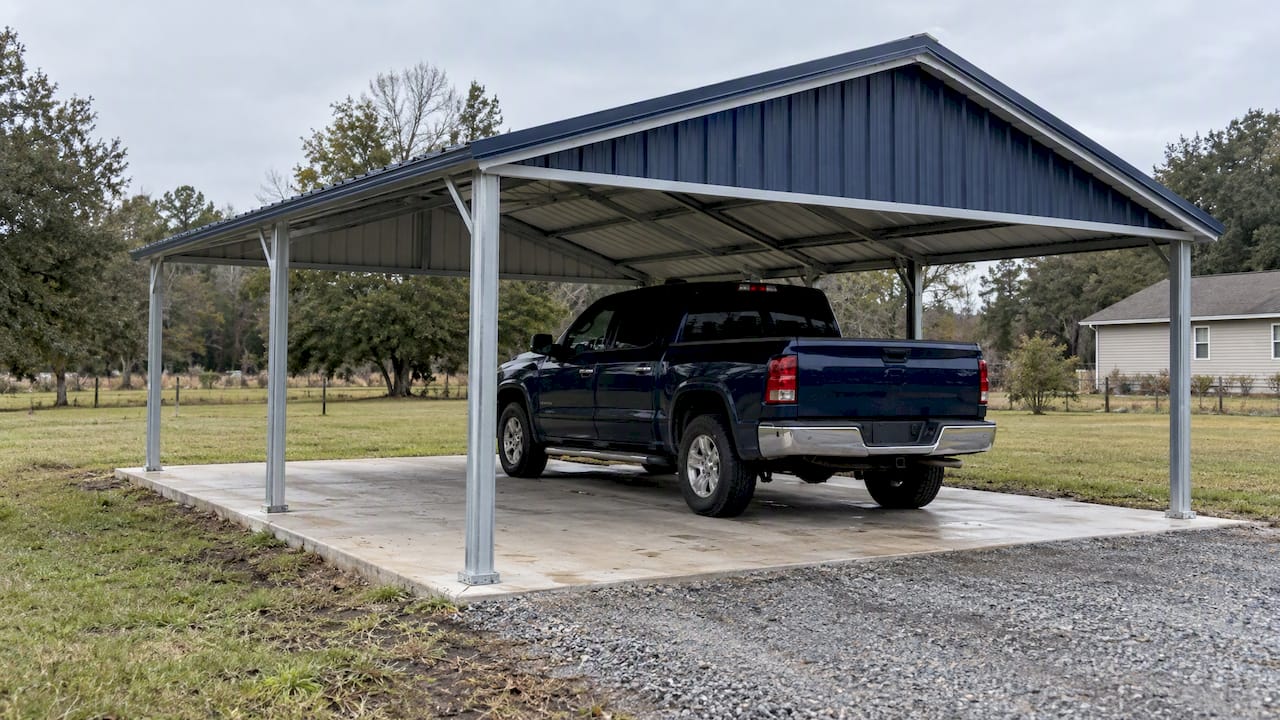
- Choose your foundation type: concrete piers suit lighter open lean-tos, a full slab works best under enclosed storage or a workshop floor, and a compacted gravel apron can serve light-use equipment shelters, though concrete is recommended wherever heavy equipment or vehicle traffic is expected.
- Plan drainage and access together: grade the apron away from the structure, confirm vehicle approach width, and leave enough clearance for delivery trucks before the foundation goes in.
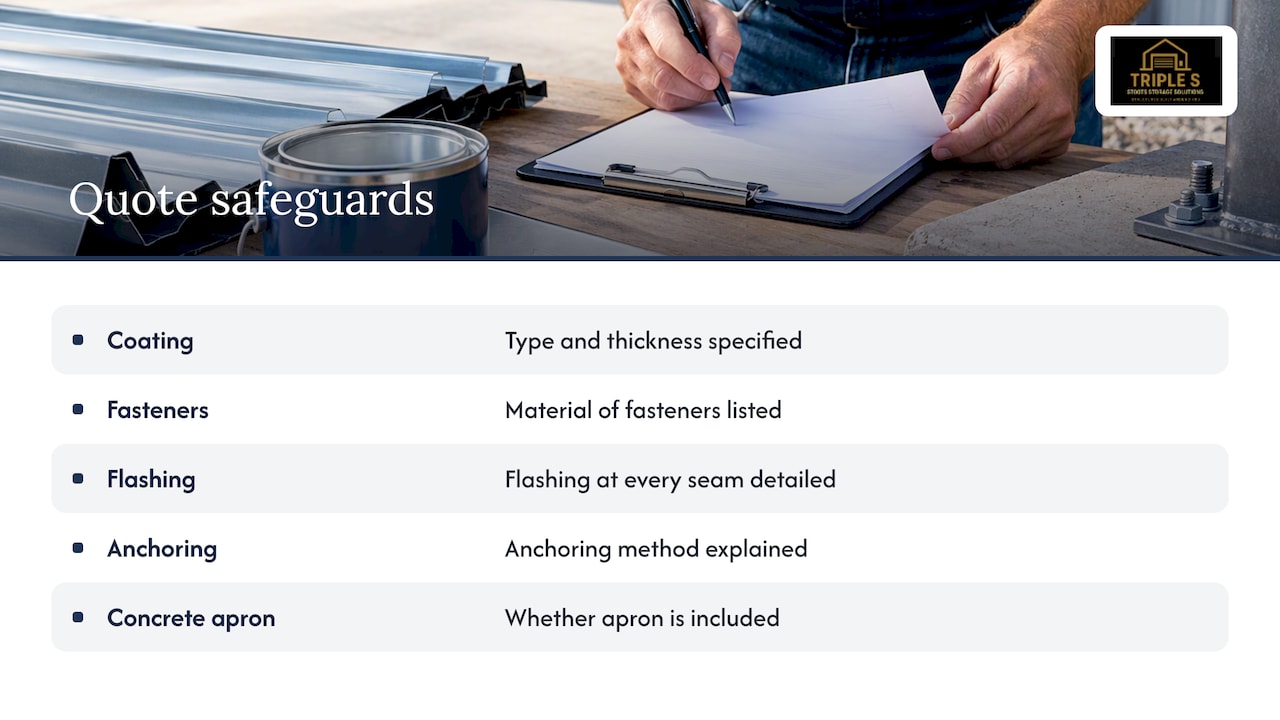
- Budget the full project, not just the building: site prep, concrete, delivery, and installation all belong in your early cost estimate, not as afterthoughts once materials arrive.
Permitting can take anywhere from a few days to several weeks depending on your jurisdiction, and concrete generally needs about a week to cure before it can bear structural loads.
Pro Tip: Order your building materials only after your foundation has been inspected and approved, since a failed inspection after delivery means paying for storage or rescheduling installation.
6. Feature Ideas and Real-World Lean-To Scenarios
The right features turn a basic lean-to into a space that actually works for your day-to-day needs.
- Doors: roll-up doors suit equipment access and need a level apron plus a reinforced header, while sliding doors cost less and work well for lighter-use storage.
- Skylights and windows: bring natural light into an enclosed lean-to workshop without adding electrical load.
- Stalls and partitions: split a run-in shelter into separate bays for livestock or divide a storage lean-to into zones for tools versus feed.
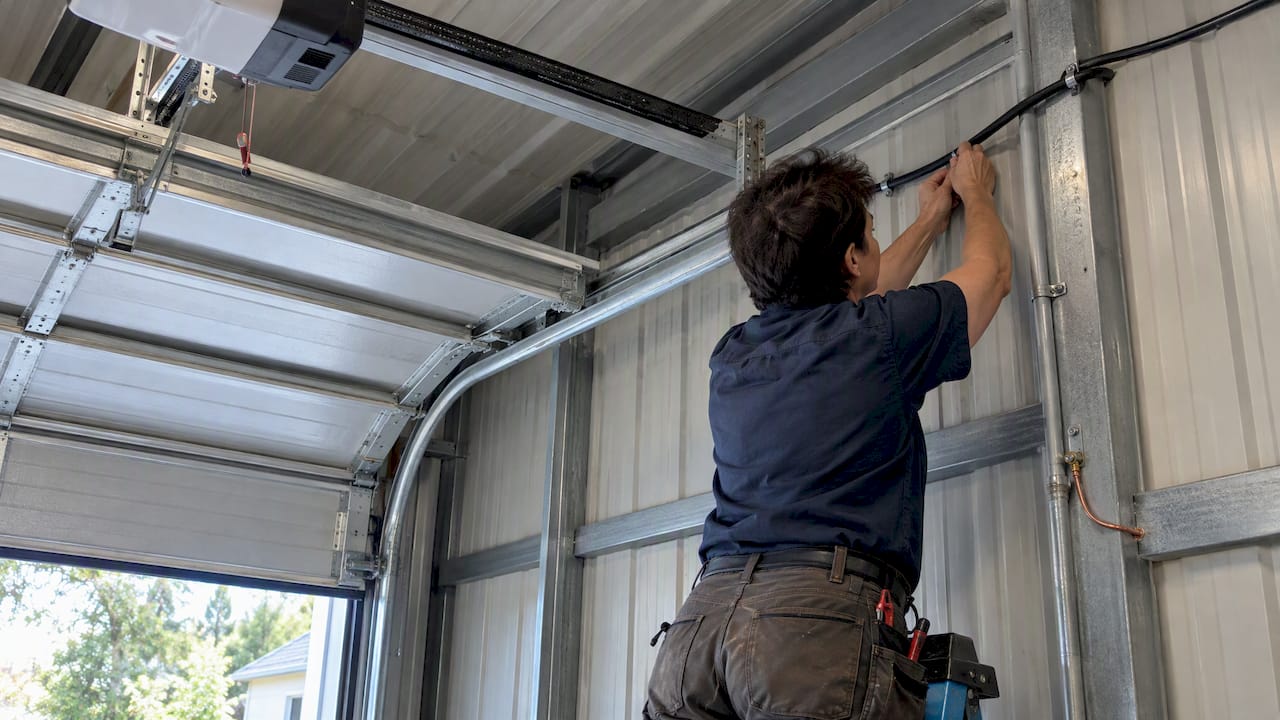
- Electrical and lighting: worth planning early, since conduit runs are far easier to install before siding goes up.
- Mezzanine or modular storage: a raised platform or modular shelving system adds storage capacity without expanding the building’s footprint.
A hobby-farm equipment lean-to might run 14 feet deep with a gravel apron and open bays for a tractor and implements. A homeowner’s porch lean-to often measures 10 feet deep with a tongue-and-groove ceiling and a paver floor. An RV shelter typically needs a 40 foot bay length and a poured concrete apron to support the vehicle’s weight without rutting.
7. What Professional Installers Watch For on Every Lean-To Job
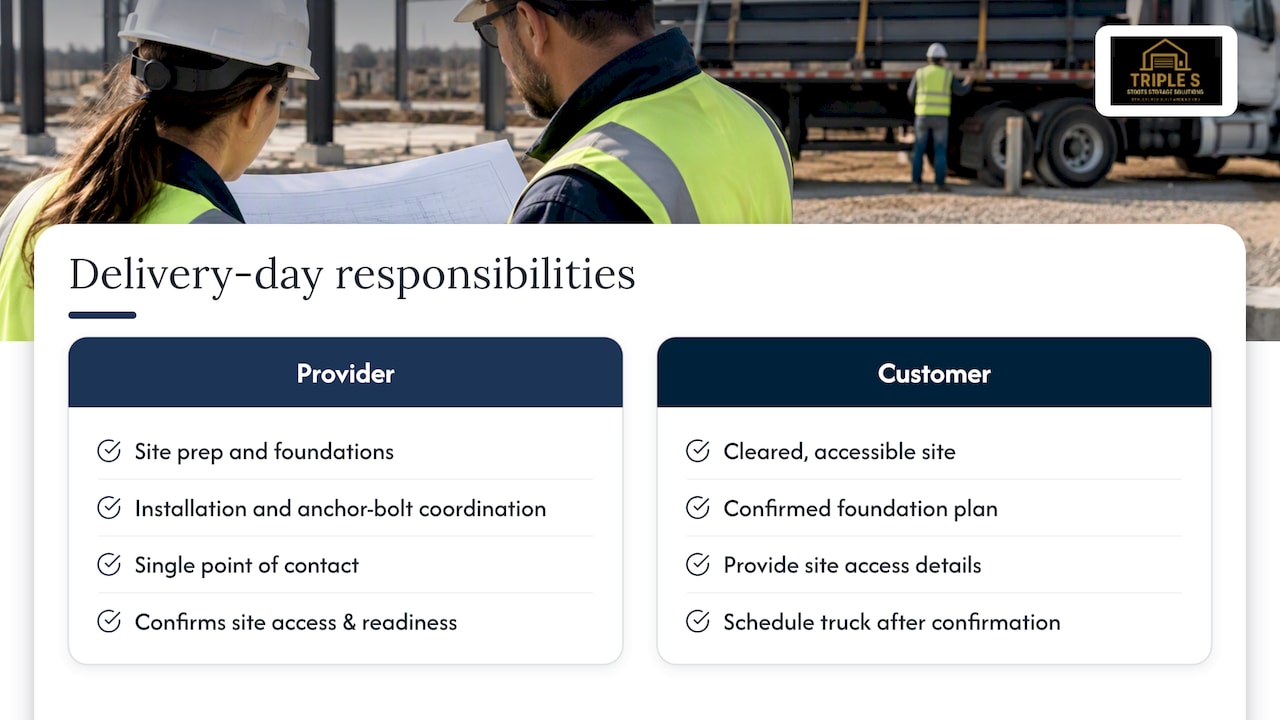
A turnkey workflow that includes site prep, concrete foundations, and installation under one point of contact catches problems before they become expensive fixes.
- Runoff at post bases: one of the most common issues on DIY and unplanned builds, usually solved with proper grading and gutter placement before the structure goes up.
- Poor attachment details: a lean-to tied into an existing wall without the right flashing or bolting leads to leaks and load problems within a few seasons.
- Inadequate access for machinery: equipment lean-tos built without enough apron width or door clearance become frustrating to use within the first year.
If you are weighing a site visit, a foundation quote, or a full turnkey install, starting with an on-site assessment lets a builder catch these issues before concrete gets poured.
8. A Lesson From the Field on Sequencing a Lean-To Build
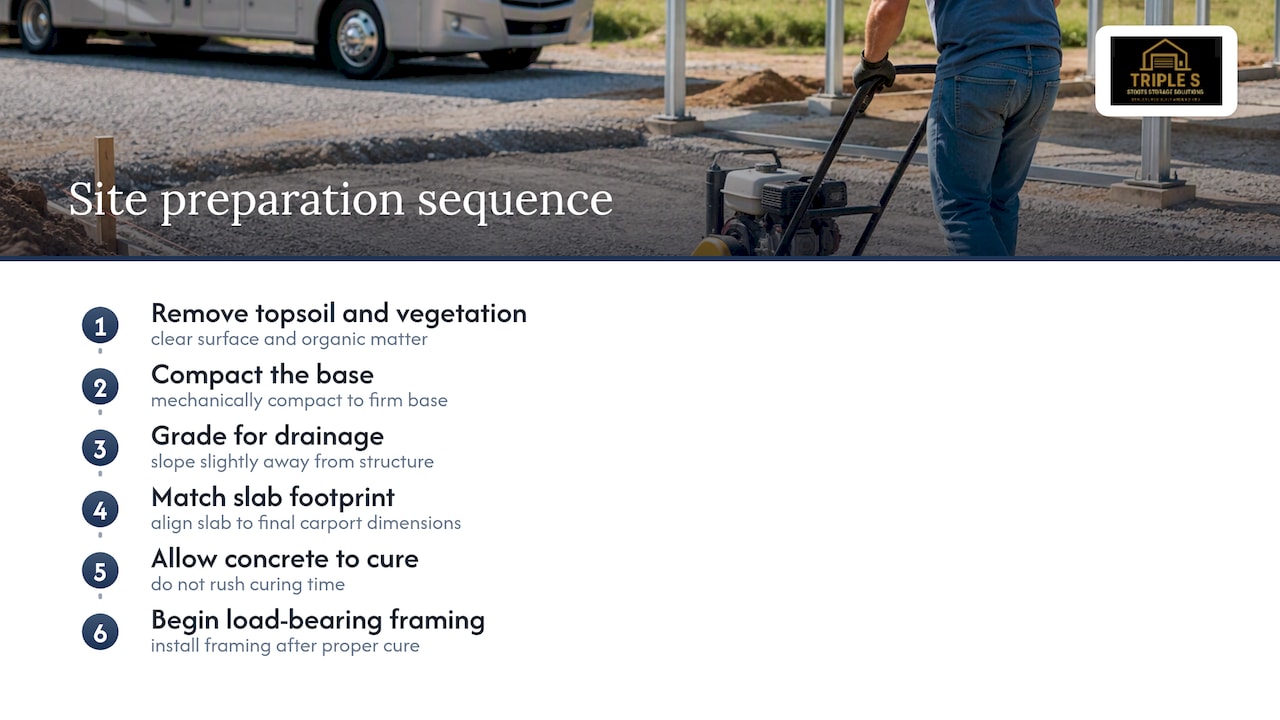
Every lean-to project that goes smoothly follows the same order: grade and drain first, pour concrete second, build third. Skipping that sequence is the single most common reason a good design ends up with a wet post base a year later.
— Stoots
How We Help You Plan and Build Your Lean-To
Turning a lean-to idea into a finished structure takes more than a design sketch. We handle metal buildings from garages and workshops to metal barns and agricultural buildings, along with lean-to add-ons designed to attach cleanly to an existing structure.

Our concrete and foundation services cover site prep, grading, and aprons, so the sequencing we described above, grade first, pour second, build third, happens correctly from day one. We keep site prep, concrete, and installation under one point of contact, which means one quote and one team accountable for the result. Browse our gallery of real customer installs for lean-to and barn examples, then reach out through our metal buildings page for a straight quote before any deposit is required.
FAQ
What is the ideal pitch for a lean-to shed roof?
A pitch between 3:12 and 6:12 handles most climates well and sheds snow faster than a flatter roof. In heavy snow regions, a steeper pitch within that range reduces the risk of load buildup, while a simple garden shed in a mild climate can use a lower slope as long as drainage is planned.
How do you build a simple barn?
A simple barn typically starts with post-frame construction, where posts are set into footings and tied together with purlins and rafters following prescriptive spacing, often up to 12 feet on center according to post-frame handouts. From there, roofing, siding, and any interior partitions get added once the frame and foundation are inspected and approved.
Is it cheaper to build a shed yourself or have it built?
Building a shed yourself can lower material costs, but mistakes in grading, drainage, or attachment details often cost more to fix later than they saved upfront. A turnkey install bundles site prep, foundation work, and construction under one quote, which reduces the risk of the sequencing errors that show up most often on DIY builds.
What are some ideas for organizing a lean-to storage area?
Modular shelving or a mezzanine platform adds storage capacity without expanding the footprint, and partitioning the space into zones for tools, feed, or equipment keeps things easier to find. Adding a window or skylight improves visibility inside an enclosed lean-to without needing extra electrical work.
Sources
Before finalizing your design, a few primary references are worth checking directly. The post-frame lean-to handout lays out member sizes and attachment details for unengineered construction. NRCS runoff-management guidance covers practical drainage controls for protecting foundations. The NRCS confinement barn planning guide addresses floor and foundation choices for heavy-use buildings, and Larimer County’s agricultural building code guidance explains permit triggers and classification rules that often apply to lean-to additions.
- Post-Frame Lean-To (Grant County WA handout)
- Runoff management: small-scale solutions (NRCS)
- Building codes for agricultural buildings (Larimer County)